Skip to content
New orders are shipping within 24 hours

Watercolour Painted Easter Eggs

Painting eggs at Easter is a tradition rich in meaning, gently passed down and reimagined across generations. With soft washes of colour and simple patterns, this timeless activity invites creativity to unfold in a calm, thoughtful way.

Watercolour painting nurtures imagination, a sense of rhythm, and sensory awareness, encouraging a slower pace and a deeper appreciation of colour and form. The process becomes just as meaningful as the finished piece, offering a quiet, creative moment for kids and adults to enjoy together.

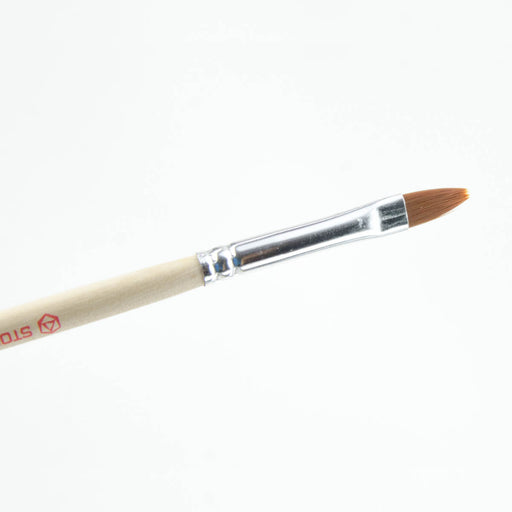
In this tutorial, Nina from 'Sewn by Neens', provides a step-by-step guide to creating watercolour-painted Easter eggs using recycled tins from previous years and the STOCKMAR Watercolour Paint Set in Tin, featuring 12 opaque colours known for their rich pigmentation and luminous finish.

Watercolour Painted Easter Eggs - Oskar's Wooden Ark, Australia

Supplies You Will Need

  1. STOCKMAR Watercolour Paint Set — Offers a rich, vibrant palette with exceptional versatility. Create light, delicate washes or build deep, layered tones, with colours that remain beautifully luminous even when diluted.
  2. Paintbrush — For detailed designs, fine brushes work beautifully.
  3. Jar of rinsing water
  4. White Acrylic Paint — Acrylic bonds well to metal and, once fully dry, will not smudge when painted over with watercolour. Alternatively, watercolour ground can also be used.
  5. Fillable Tin Easter Egg — Great for recycling used snack containers, old toys, and other everyday items. Ideally an Easter Egg shape, but any tin container could be used and repurposed into a newly created Easter Nest!
Explore Painting Supplies
Watercolour Painted Easter Eggs - Oskar's Wooden Ark, Australia

Getting Ready to Paint

  • Clean The Tin Eggs: Remove any stickers, wash thoroughly to remove glue or residue, then dry them completely.
  • Prepare The Paints: Lightly mist the watercolour palette with a spray bottle to activate the colours and create smooth, flowing pigment.
  • Plan Your Design: Choose a simple design and colour palette. Soft patterns like gingham or delicate florals allow the colours to shine while keeping the process calm and enjoyable.
Watercolour Painted Easter Eggs - Oskar's Wooden Ark, Australia

Step-by-Step Guide

  1. Prepare the Base: Open the tin egg and paint the outside with 2–3 thin layers of white acrylic paint. Let each layer dry completely before applying the next.
  2. Activate the Paint: Dip the brush into clean water, then swirl it into the chosen colour until a smooth, flowing pigment forms.
  3. Start Painting: Gently apply the colour to the egg using light brushstrokes. Let the brush glide across the surface rather than pressing down.
  4. Clean Between Colours: Rinse the brush thoroughly before switching colours and refresh the water often to keep colours clear.
  5. Build Layers & Details: Use a larger brush for broader areas and a finer brush for details. Add more water for softer tones, or layer dried paint for deeper, richer colour.
  6. Let It Dry: Once the design is complete, leave the egg to dry fully for a few hours before handling.
  7. Fill With Easter Surprises: Once dry, fill the egg with a small toy or treat for a thoughtful Easter surprise, perfect for tucking in a tiny Maileg friend.

CREATE: Make, Craft & Imagine

Hands-on art and craft ideas to spark creativity in little makers, with step-by-step instructions and suggested material lists

Start Creating

Other Posts you Might Find Interesting: