Woodworking with Kids: Make your own Wooden Bugs
Ruth Kuhn for Oskar's Wooden Ark | 01 September 2022
Our Kids at Work tools were as much a gift for my husband as they were for our two older children. He is a keen woodworker and has been longing to introduce our daughters, aged 8 and 6, to his favourite craft.
I admit to having been slightly less enthusiastic about the idea. While I love wooden toys and handcrafted wooden items, the thought of my children working with saws, blades and hammers to create a wooden something themselves was a little alarming! "Why take that risk?", asked this slightly risk-averse mum of three...
And then we discovered Kids at Work!
Kids at Work kid-sized tools
Kids at Work have created an extensive range of tools, perfectly sized for little hands. These are not toys! They are fully functional real tools that are designed to be used under adult supervision. The fact that they are kid-sized, however, means that children can safely work alongside their parents on woodworking, carving and DIY projects, learning valuable skills along the way.
I can't tell you how chuffed our daughters were with the outcome of their first 'proper' project - their very own wooden bugs (scroll down for the full tutorial). Woodworking has been added to their list of favourite activities, and I am now totally on board. In fact, I am more than just a little bit tempted to have a go myself! I love that they are learning to handle tools in a safe way, and I know that in allowing them to do so we are helping them develop their confidence and independence as well as their creativity. I can't wait to see what project they tackle next!
Filling your tool box - where to start?
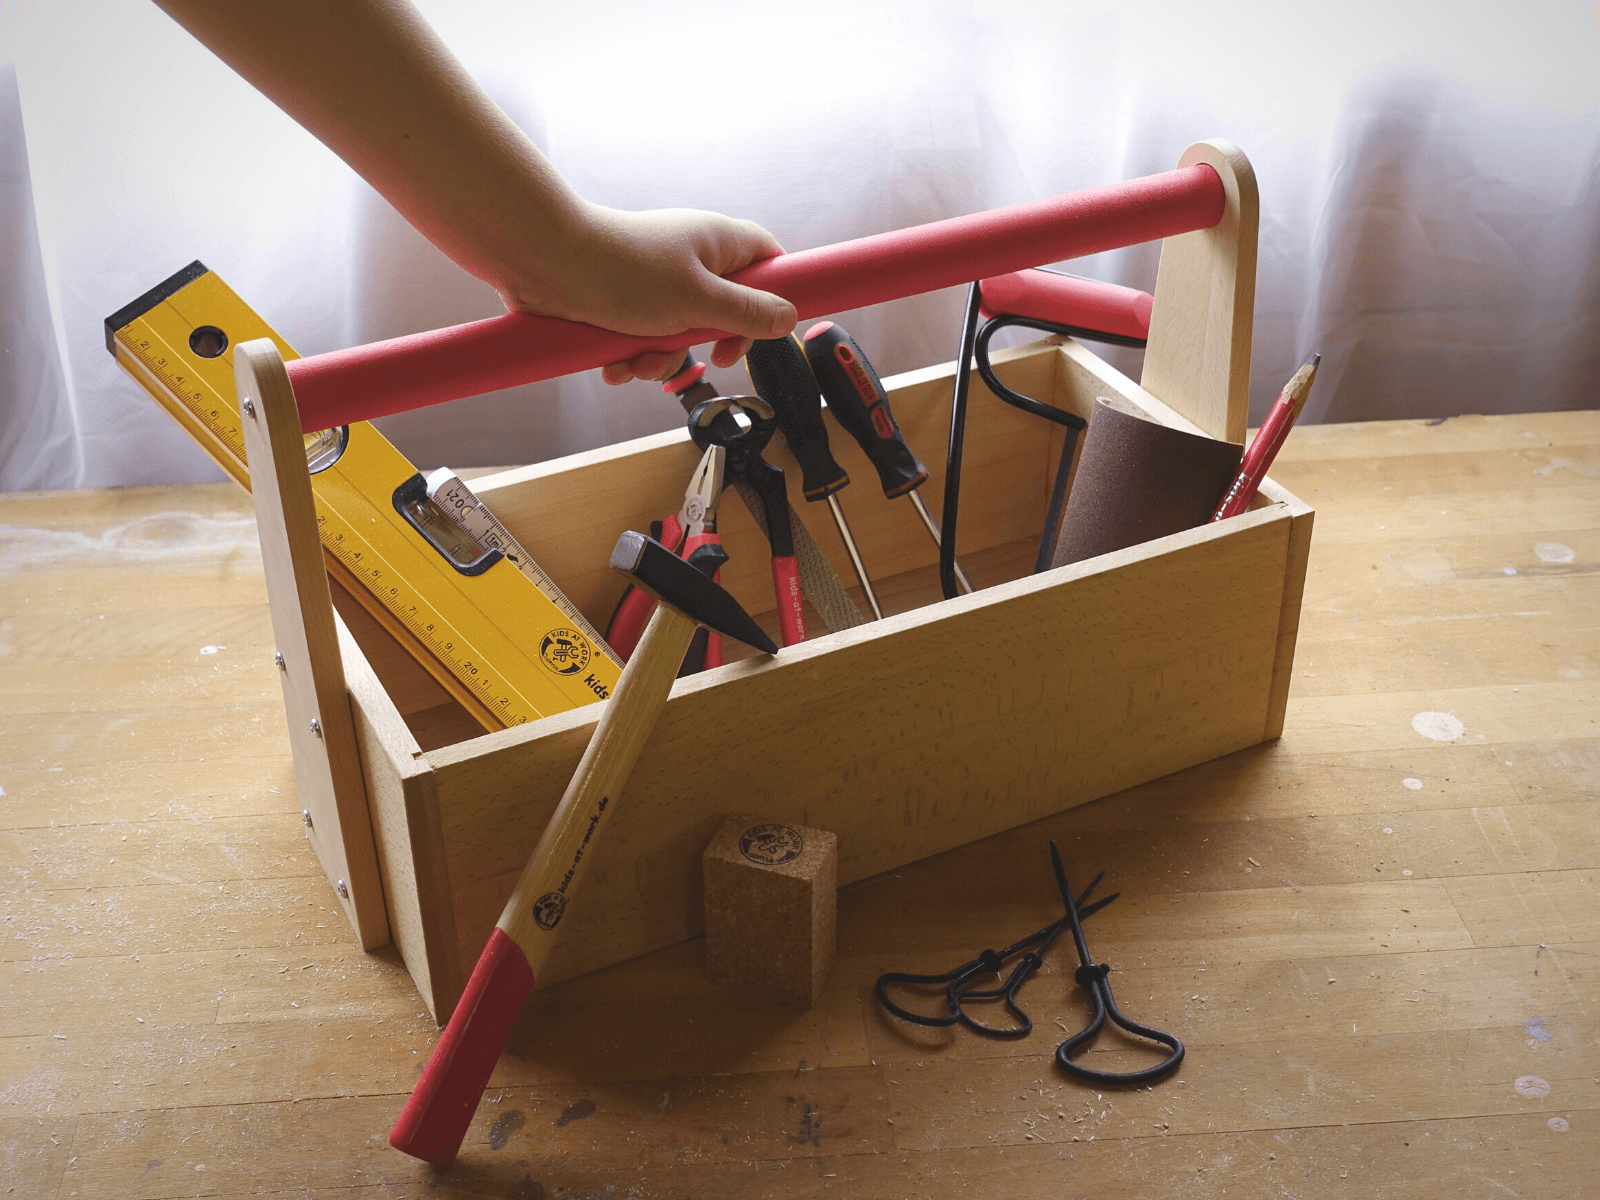
We got most of our tools with this great bundle set which includes:
- DIY tool box kit (a great first project and the perfect place to store your tools once you are done)
- Folding ruler 1m
- Hand saw
- Carpenter pencil
- Sanding block with 2 Abrasive Sheets
- Wood and chestnut drill
- Flat Screwdriver
- PH1 Screwdriver
- Rasp Semicircular
- Spirit level
- Hammer hickory wood
- Mini Pliers 5"
- Combination Pliers
Make your own Wooden Bug: A Beginner Woodworking Project for Kids
My husband came up with this simple but fun project to introduce our daughters to a variety of woodworking tools and their different uses. Using balsa wood and a few simple accessories, Miss 6 and Miss 8 made adorable wooden beetles and bugs, which now have pride of place on their playroom shelves.
Below, you will find step-by-step instructions for how to create your own wooden bug, with two variations depending on your child's age/woodworking confidence and the tools you have to hand. Feel free to adapt these instructions to create any bug or creature of your choice. Being creative is half the fun! You could even have a go at decorating your creature with Kitpas Crayons or Stockmar Art Supplies.
Safety information: Please remember that Kids at Work products are not toys - they are real tools that should only be used under close adult supervision. We also recommend using safety gloves, safety glasses and an apron. A good stable working
surface is a must and will help avoid mistakes.
What you will need:
These are the tools and materials we used for our bugs:
Safety
- Safety goggles
- Cut resistant safety gloves
Materials
- Balsa wood
- Dowling
- Wire
- Wood glue
- Nails
- Screws
Tools
Woodworking tools for shaping, drilling, cutting and sanding wood as well as a hammer and some pliers to bend metal wire:
- Rasp
- Sandpaper Sanding Block with Abrasive Sheets
- Hand drill
- Hammer
- Fretsaw
- Screwdriver/s
- Japanese saw
- Combination pliers
- Round nose pliers
- Carpenter's Pencil
- Ruler
Instructions:
First, decide which bug or creature you'd like to create and choose a piece of wood to suit the shape of it's body. We’ve used balsa wood for the body as it is light and easy for kids to handle and shape. A great choice for beginner wood workers!
1. Gather your tools, sharpen your pencil and ensure that you have a clear and stable work surface upon which to work.
2. Using a pencil, roughly draw the outside shape of the bug
onto the surface of your piece of wood.
3. Using a rasp or file, begin to shape the wood. If possible, hold the wood in
a vice to make this step easier and faster.
4. Once you have the basic outer shape (think 2D shadow),
start rounding it as required to get the full 3D shape of the
body. You may like to use sandpaper to finish it off.
5. We chose to use nail heads for our bugs' eyes.
Position them before using a hammer to carefully hammer them flush into
the body.
Now for the wings for Miss 8's ladybug. This required a few tricky steps, which are optional depending on whether or not you wish to add wings to your bug.
6. Find a small and thin
piece of wood you can use to cut the wings from. We
chose a darker wood to create a contrast with the body.
7. Using a pencil draw the shape of wings on the wood,
considering the size you want relative to the body.
8. Using the fretsaw (which is great for cutting complicated
shapes out of thin wood/sheet material), cut the wings out
of the wood. Don’t press the saw blade into the wood as you will stretch it and eventually break the blade.
Fretsaws work best when the blade is gently moved up and
down, letting it cut without too much pressure. Be
patient.
9. Next, we need to look at fixing the wings to the body. We
decided to use a screw for the job. First drill
a hole in each wing for the screws to go through. The Kids at Work hand drill is ideal for this. NOTE: use a piece of scrap wood
underneath so you don’t drill into your work surface.
10. Place the screws into the wings
and position them on the body.
11. Give them a light tap with a
hammer to help keep them in position and start the hole
12. Using a suitable screwdriver, screw the wings in place. They should be able to pivot slightly once attached (Miss 8 loves making her ladybug 'fly').


It's starting to look like a ladybug now, but it’s missing
some feelers. My daughter enjoyed this bit!
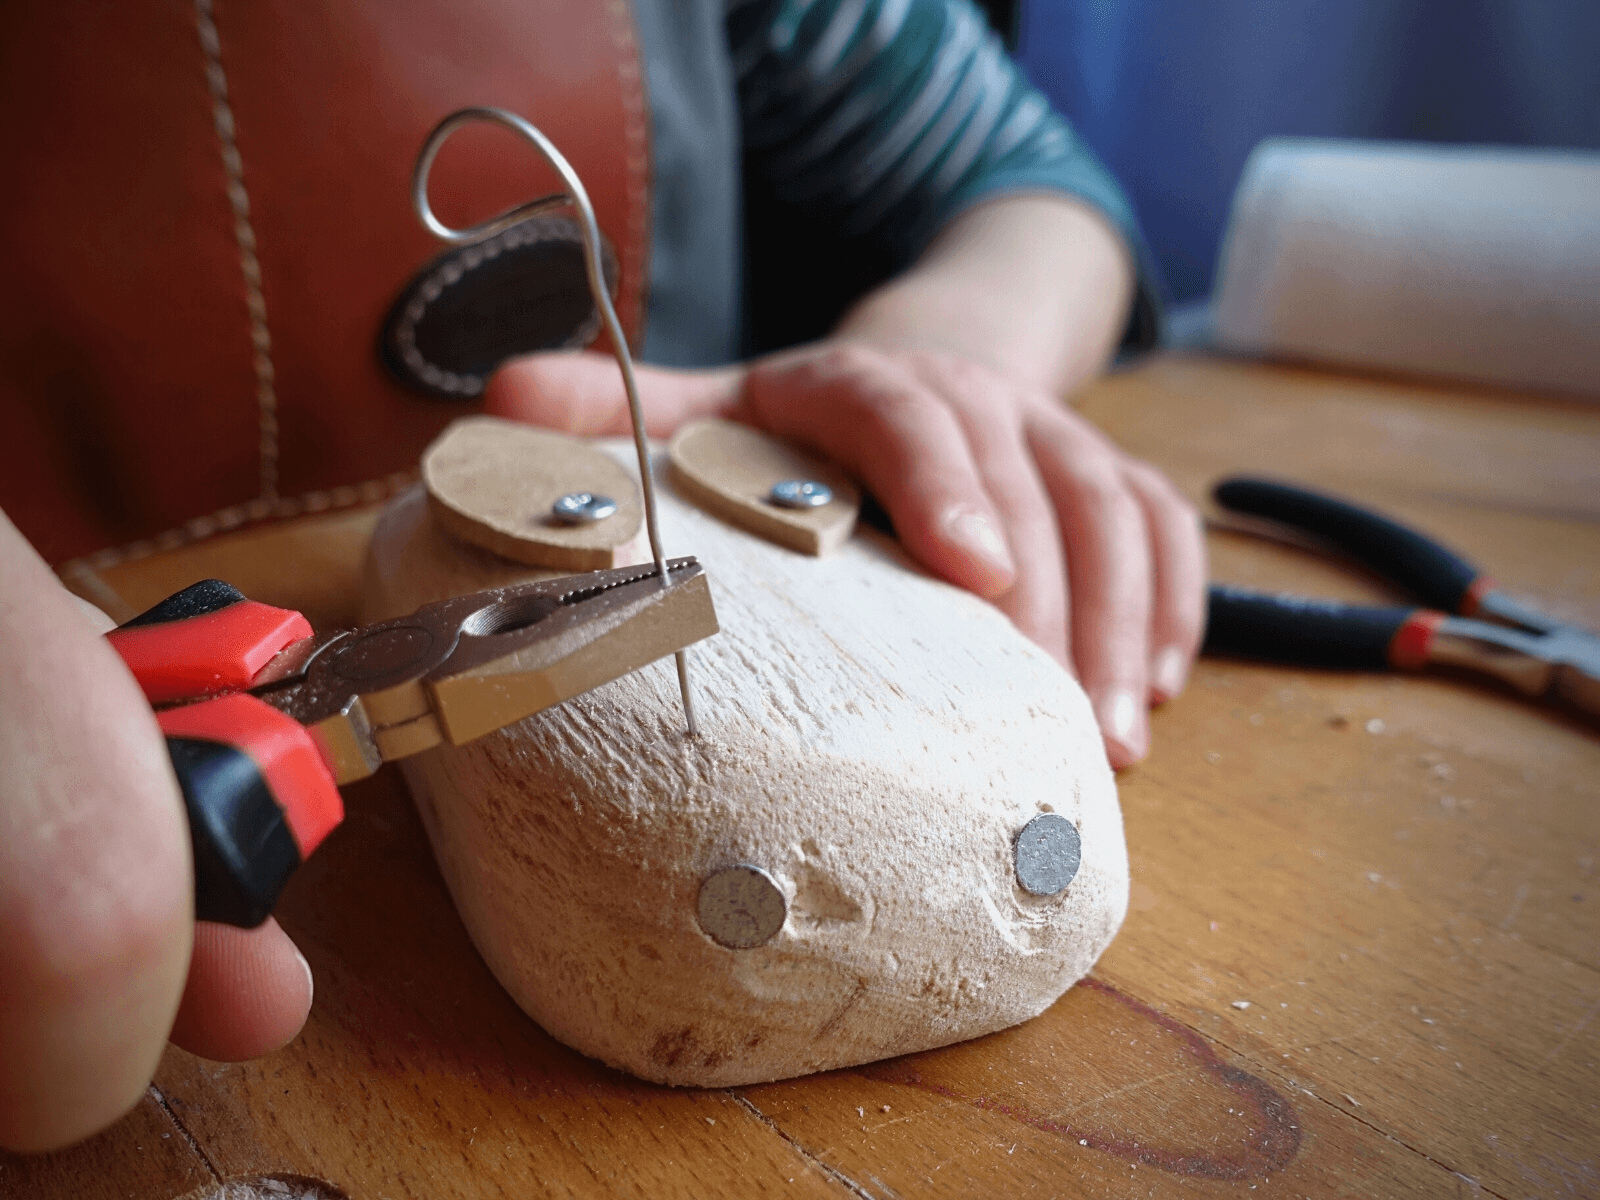
13. Using the
round nose pliers (that are ideal for bending wire) create
the rounded ends.
14. Only cut the wire after creating the curly bit on the end, as
you will be better able to judge the length you want.
15. Cut the wire at the appropriate length using the using the wire cutting part of the flat
nose pliers.
16. It’s possible to push the feelers into the soft balsa wood
but be careful and accurate as you don’t want to create a
larger hole than necessary, in which case the feelers will
fall out. If this happens, drop some epoxy or glue gun glue
into the hole before putting the feelers in.


Every bug needs legs. Six legs, to be exact.
17. Being careful not to damage the feelers or wings, turn the
ladybug over and use a pencil to mark where the legs will go.
We used bits of dowel as the legs for our ladybug, so first
we needed to drill the holes for them to be placed into. The
hole size should be the same as the dowel if possible. When using the hand drill, try and keep it still as otherwise
the hole will end up larger than desired.
18. Using a pencil, mark how long you would like the legs to be,
adding an extra centimetre for the hole in the body.
19. Now cut the dowel to length using a saw. The Japanese
saw is great for this job as it gives you a clean and flush cut.
20. Loosely place the legs into the holes, to check the overall
length and snug fit.
21. Drop some glue into the holes for the
legs.
22. Next, carefully place the wooden legs into the holes.
23. Briefly turn your bug over to make sure all feet touch the ground.
Adjust as necessary.
24. Leave to dry.
25. Your bug is now ready to decorate or to display as is. Adorable!


A slight variation for younger or less confident woodworkers
Miss 6 wasn't feeling ready to work with the hand drill or saw, and so we were able to adapt the project to suit her.
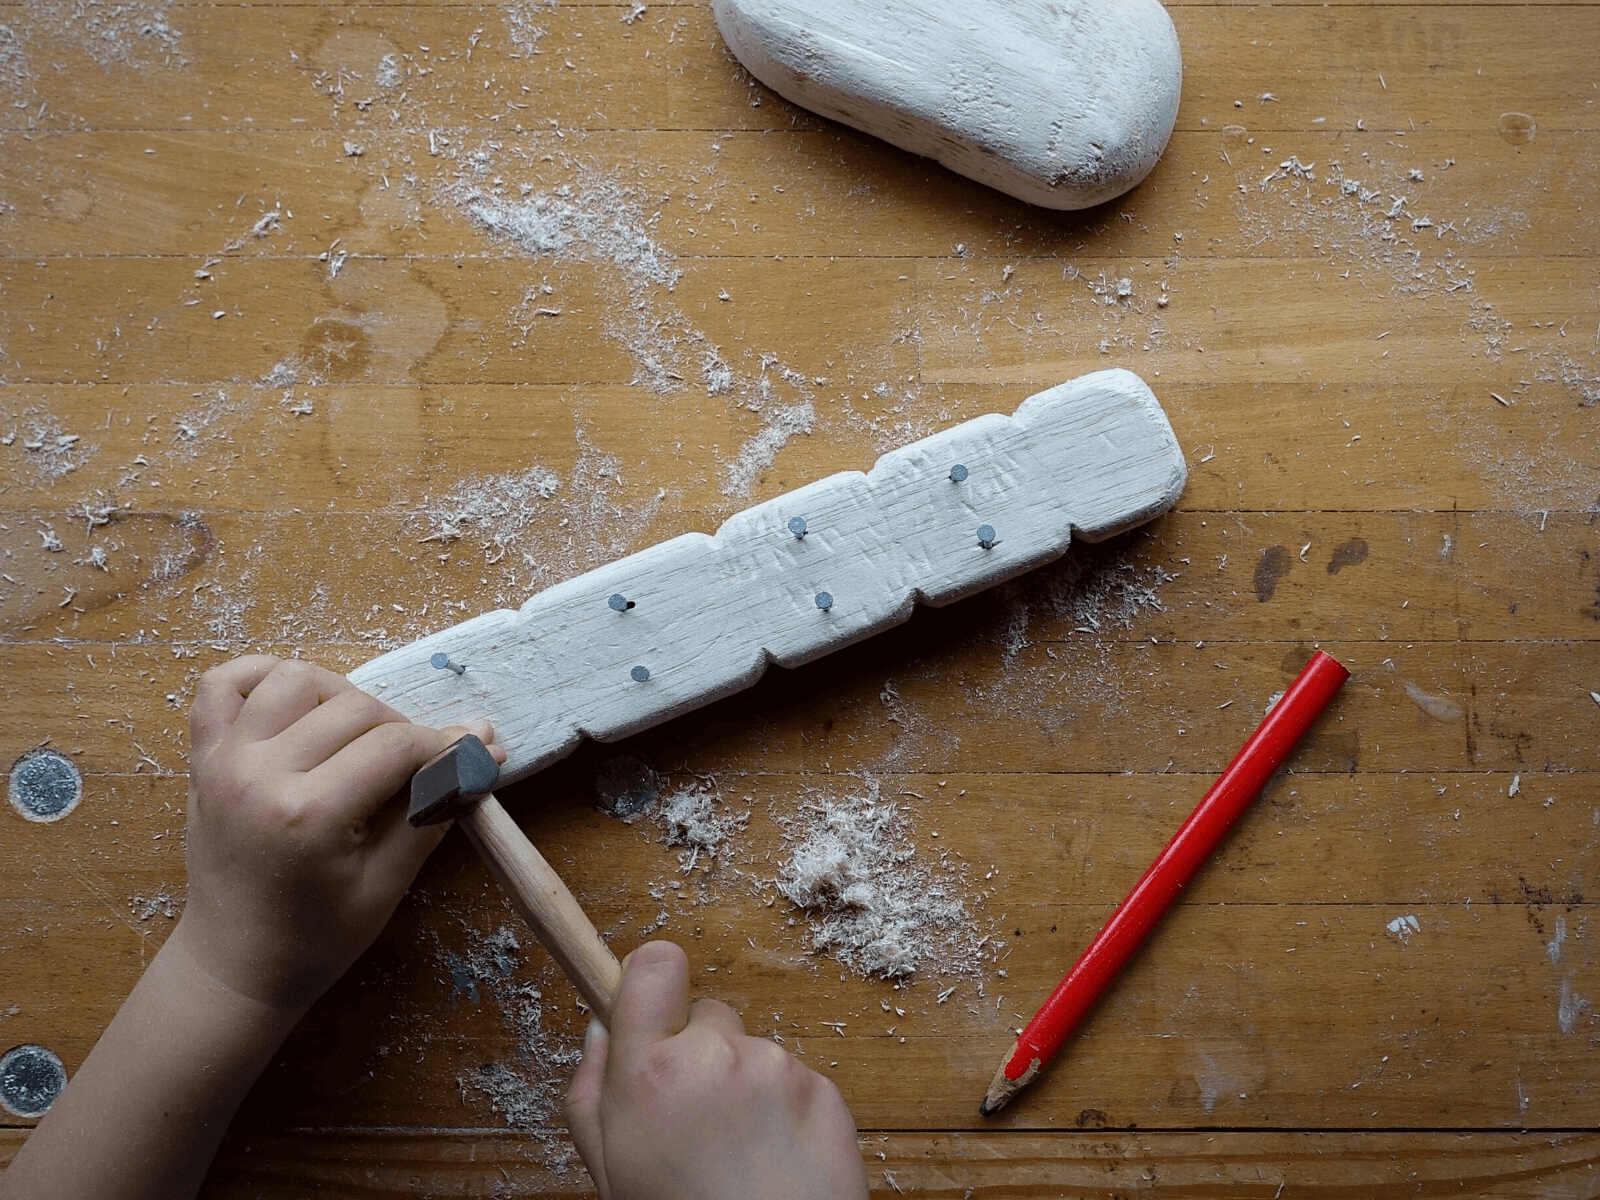
1. She chose to create a caterpillar and to use nails (rather than dowels) for the legs, which she gently hammered into place. It took some patience to get them all the same length, but no cutting required.
2. As her caterpillar didn't need wings, she also avoided any sawing or drilling.
3. The other steps were the same as for Miss 8, and she found the process both manageable and enjoyable. With time, I have no doubt that she will move on to some of the more challenging tools, but we will be led by her!


We are so pleased with how our ladybug and caterpillar turned out. Aren't they cute? If you do any woodworking with your family, we'd love to see your pics! Don't forget to tag us - @oskarswoodenark #oskarswoodenark on Instagram or Facebook.


