Skip to content
🌈 Grimm's PRE-ORDERs now open - don't miss out! 🎄

Create Your Own Cardboard Castle For Small World Play

Turn an ordinary recycled cardboard box into a magical castle in just one afternoon. This craft activity, shared by Jess, is a wonderful way to give new life to everyday materials - a box, some paint, and a handful of craft supplies are all it takes to spark hours of imaginative small world play

There's something quietly powerful about reusing what would otherwise be thrown away: kids learn that "rubbish" can become a castle complete with battlements, flags and shields, all built by their own hands. 

It's a simple, budget-friendly project the whole family can enjoy together, and the finished castle becomes a treasured piece of play equipment long after the crafting is done. 

Bring on the adventure, magic, fantasy and fun!

Children colouring cardboard boxes to build a castle craft

What You'll Need

  • Recycled cardboard box — any size, from a shoebox to a moving box
  • Spare cardboard, for shields and flags
  • Paint and paintbrushes
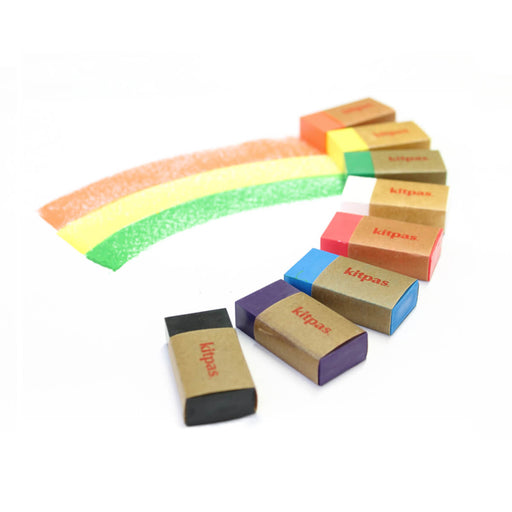
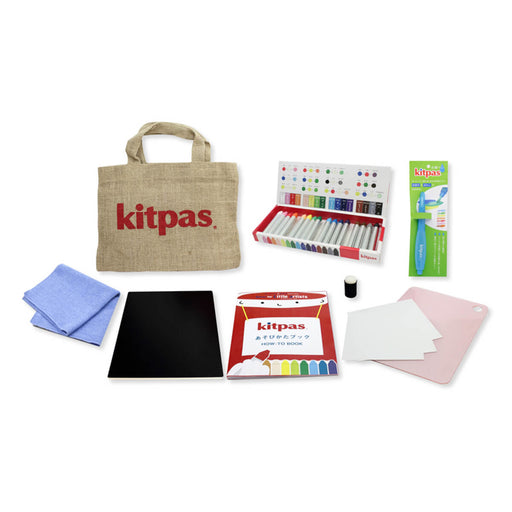
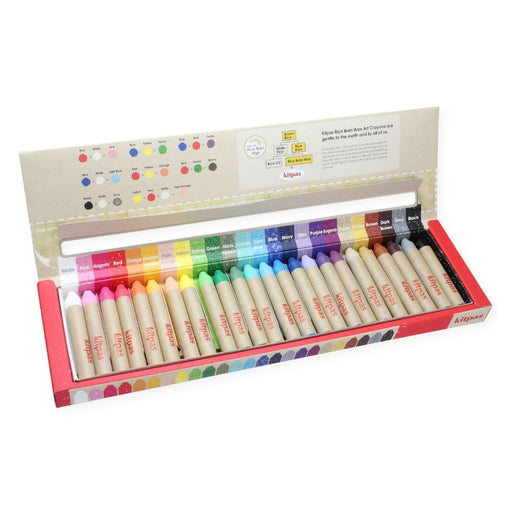
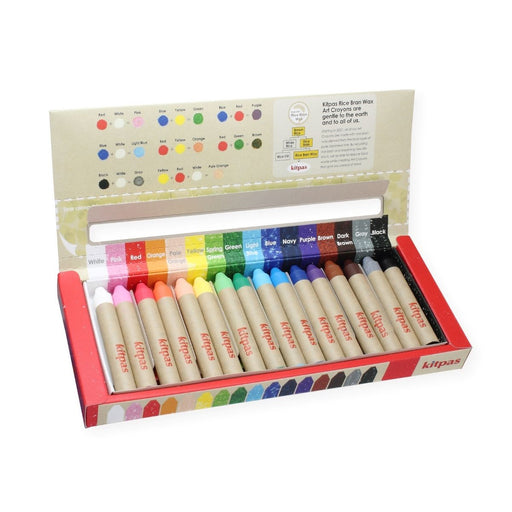
  • Kitpas Crayons, for decorating shields and flags
  • Paddle pop sticks, for flag poles
  • Scissors, for cutting the battlements and door flap
  • Kids at Work Cordless Glue Gun and Kids at Work Hot Glue Sticks, for assembling towers, flags and shields

No glue gun on hand? The Corvus Kids at Work Craft Glue is a great heat-free alternative — a waterproof, high-strength craft glue that still needs adult supervision but skips the heat risk of a glue gun

Please note: the Kids at Work Cordless Glue Gun is recommended for ages 4+ and should always be used under direct adult supervision

Decorated cardboard castle with paddle pop stick flags for small world play

Building the Castle Base

Step 1: Get a cardboard box and cut out the battlements, along with a flap for the front door.

Step 2: Cut out shields and flags from spare cardboard.

Step 3: Get your little artists involved by having them paint the box.

Step 4: Time to get creative - decorate the shields and flags using Kitpas crayons.

Step 5:Glue triangles onto paddle pop sticks to create flags. Using the Kids at Work Cordless Glue Gun and Hot Glue Sticks (or the Corvus Kids at Work Craft Glue for a heat-free option), decorate the castle walls with the painted shields and glue on the towers, topped with the flags.Adult supervision required.

Step 6: Set up your cardboard castle ready for small world play.

Step 7: Your castle is complete and ready for play!

▶ Watch the Tutorial
Children playing with finished cardboard castle in small world play

Learning Outcomes

This craft is about far more than just a fun afternoon activity - it's packed with developmental benefits, as Annette noted:

  • Fine motor skills - cutting, gluing, and painting help strengthen little hands and improve hand-eye coordination.
  • Creativity and imagination - designing shields, flags and towers encourages open-ended, imaginative thinking.
  • Sustainability awareness - reusing a cardboard box shows kids that recycled materials can be transformed into something wonderful, building an early appreciation for reuse and reducing waste.
  • Storytelling and social play - once built, the castle becomes a springboard for small world play, helping kids develop narrative skills, role play, and cooperative play with siblings or friends.

Ready, Set, Craft!

From cutting and painting to storytelling and pretend play, this cardboard castle craft is a wonderful way to spend an afternoon while giving new life to materials that might otherwise be thrown away. We hope your little ones enjoy many hours of small world play with their home-made creations. Don't forget to share your castle designs with us on Instagram and Facebook - tag @oskarswoodenark and use the hashtag #oskarslittleartists.

CREATE: Make, Craft & Imagine

Hands-on art and craft ideas to spark creativity in little makers, with step-by-step instructions and suggested material lists

Start Creating

Our Most Recent Posts: